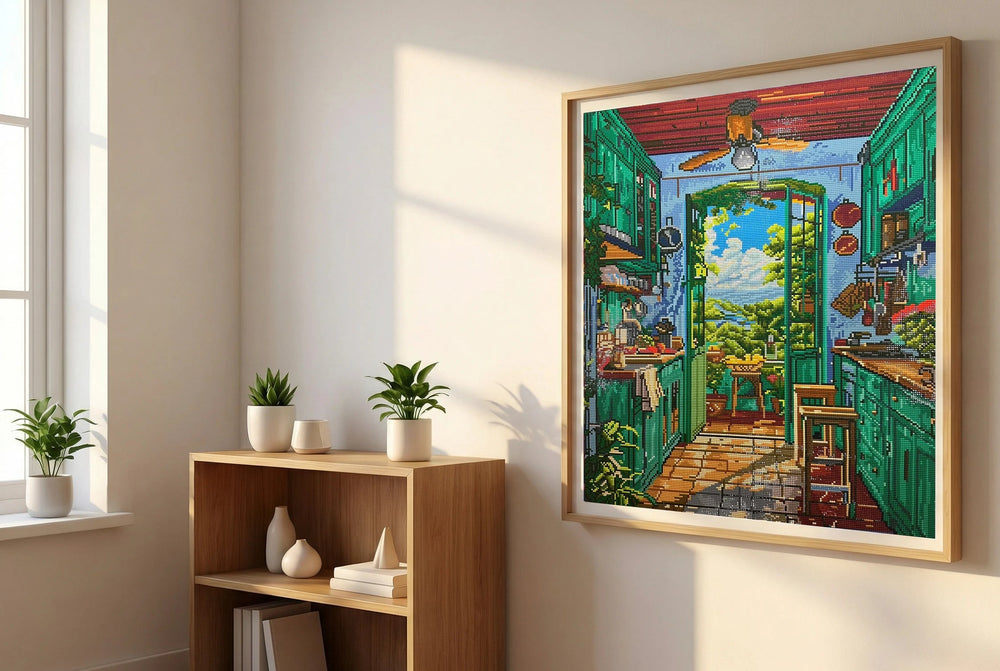
5 common ways to Frame A Diamond Painting (Pros & cons & budget-2025)
Hey there, it's the sisters from Diamond Painting Studio! Have you ever struggled with framing your beautiful diamond painting? Trust us—we've been there. Size mismatches, awkward edges, or giving up and just using tape… Sound familiar?

4 Questions to Ask Before You Start
Frame or Not? , they are key questions:
1. Should you trim the canvas edges?
2. Do you need glass protection?
3. Should you use glue or adhesives?
4. Custom frame or store-bought?
💎5 Framing Methods for Diamond Paintings
Here’s a practical guide to popular framing options, tailored for real-life diamond painters—so you can find the perfect solution that suits your needs.
1. 🌟Magnetic Hanger Bars
Magnetic Hanger Bars also come in two styles, as shown in the picture:
 • Frame Style (Left):
Secures the whole canvas, giving a neat appearance.
• Scroll Style (Right):
Quick and effortless; no trimming required, minimalist aesthetic.
• Pros: Super easy to set up in seconds, budget-friendly.
• Cons: Limited support for large canvases; slight curling risk.
• Budget: $5-$15, excellent for beginners or temporary displays. And these magnetic floating picture frames can be purchased on various platforms.
2. 🌟Standard Picture Frames
This kind of painting can be placed directly on the desktop, which is very suitable for small and medium-sized diamond paintings. Of course, you can also try our
Official Funny Diamond Paintings→
which are very cute and deeply loved by office people.These are30*30cm standard size,which is easy to frame.
 • Glass (Left):
• No Glass (Right):
3. 🌟Shadow Boxes
• Canvas Only (Left):
• With Embellishments (Right):
I believe this is the part that girls love the most, after all, who doesn't love pink bows?Allows creative additions like ribbons or charms.
• Pros: Spacious enough to avoid pressing diamonds; great protection.4. 🌟Foam Board & Double-Sided Tape DIY
Wow, this is our sisters' favorite part, because we've seen so many craft enthusiasts who fully unleash their imagination in this. They shine with the wisdom and love for life of every individual. It can be tape, or strips of cloth, or more likely double-sided tape and glitter. Please, you in front of the screen, also let your imagination run wild.Just like our slogan at the Diamond Painting Studio, please:
 • Decorative Tape (Left):
• Fabric Border (Right):
Here, I believe my mom loves me the same, love u my mom!
5. 🌟Stretched Canvas Frame
 Professional assembly recommended, requires hands-on skill.
📢Essential Framing Tools
Please Keep these handy:6.Magnetic hanger bars or stretcher bars
📢Here are our fans crafters real tips :
“Measure carefully—don't just trust the printed dimensions!”
“Make your own matting from poster board and find frames on sale at Walmart or Michael’s.”
“Skip sealants; use real glass for extra sparkle!”
❤️Written at the end
We believe there might be a story behind every diamond painting. Our sisters would also love to hear your story. If you have better tips, please remember to tell us.
Happy framing!
❤️With love
The Sisters @ Diamond Painting Studio

